Mastering Morning Kitchen Lighting in Blender: Tips and Tricks

- Authors
- Published on
- Published on
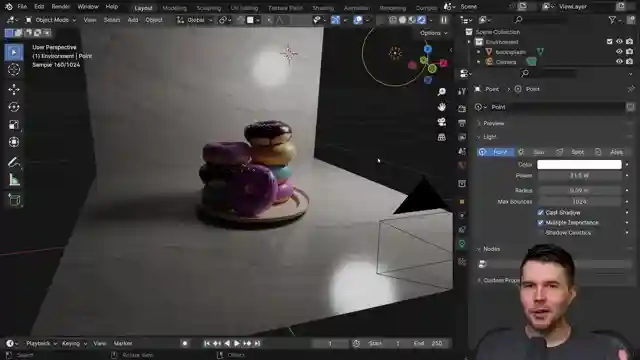
In this thrilling Blender Guru episode, the team delves into the art of creating morning kitchen lighting that will make you feel like you've just woken up to a beautiful sunrise. Forget about manually adjusting lamps - the new Sky Texture feature in Blender does all the work for you by adding a realistic sunlamp to your scene. By tweaking the exposure slider, you can control the intensity of the lighting without the need to re-render, giving you the power to set the perfect mood for your kitchen setting. But that's not all; adjusting the sun's size can help you achieve clean, hard shadows or a softer look around the edges, adding that extra touch of realism to your scene.
To prevent skylight from bleeding into your kitchen, the team demonstrates how to create an enclosure using a simple cube. Thanks to the latest snapping improvements in Blender 4.0, aligning objects with precision has never been easier. By strategically removing unnecessary faces from the cube, you can control how light interacts with your scene, ensuring that every element is perfectly illuminated. And if you want to add a window frame for that extra touch of realism, cutting into the cube is the way to go.
But what about managing bounce lighting and creating shadows? Fear not, as Blender Guru introduces the concept of a black fill card material that acts as a barrier to prevent unwanted light from spilling into your scene. By adjusting the sun intensity and exposure settings, you can fine-tune the lighting to achieve the desired effect. And for those looking to take their scenes to the next level, importing models from libraries is a common practice among professional artists. By following a few simple steps, you can easily incorporate pre-made models into your Blender projects, saving time and adding depth to your creations.

Image copyright Youtube

Image copyright Youtube

Image copyright Youtube

Image copyright Youtube
Watch Beginner Blender 4.0 Tutorial - Part 10: Lighting on Youtube
Viewer Reactions for Beginner Blender 4.0 Tutorial - Part 10: Lighting
Viewers are impressed with the G + B snapping mode in Blender, comparing it to techniques used in Revit and other AutoCAD programs.
Many viewers express gratitude for the rewarding and addictive nature of the tutorial, with some mentioning significant progress in their skills.
Tips and troubleshooting advice are shared, such as ensuring the snapping mode is set correctly, saving frequently, and updating textures in material nodes if assets turn pink.
Some viewers appreciate the level of detail and additional settings in the tutorial, looking forward to the animation and finding the tutorial easy to follow.
There are comments about the tutorial being a life-saver, addictive, and enjoyable, with some viewers experiencing issues with their PCs lagging during the process.
A user notes the importance of precision in movement and the value of explanations in tutorials, while others appreciate the clarity and value of the content provided.
The tutorial is praised for its clear explanations and the addition of new features like the snapping tool, with some viewers excited to learn and improve their skills in Blender.
Related Articles

10 Expert Tips to Speed Up Render Times in Blender's Cycles
Blender Guru shares 10 expert tips to speed up render times in Blender's Cycles. Learn instancing, camera culling, light clamping, and more for faster, high-quality renders. Optimize your workflow today!

Mastering Blender's EV Rendering: Tips for Stunning Visuals
Master Blender Guru's EV rendering engine for fast, stunning visuals. Learn to control accuracy, reduce light bleed, manage noise, and optimize reflections in your Blender scenes with expert tips and tricks.

Mastering Blender Eevee: Efficiency Tips for Stunning Renders
Learn how to maximize Blender's Eevee rendering engine efficiency with Blender Guru. Discover tips for reducing light bleed, noise, and achieving realistic reflections in your scenes. Master Eevee's shortcuts for stunning visuals in record time.

Mastering Morning Kitchen Lighting in Blender: Tips and Tricks
Blender Guru explores creating realistic morning kitchen lighting using Blender's Sky Texture feature. Learn to control sunlight, shadows, and bounce lighting for a perfect scene. Enhance your renders with precise object alignment and model imports from libraries.
